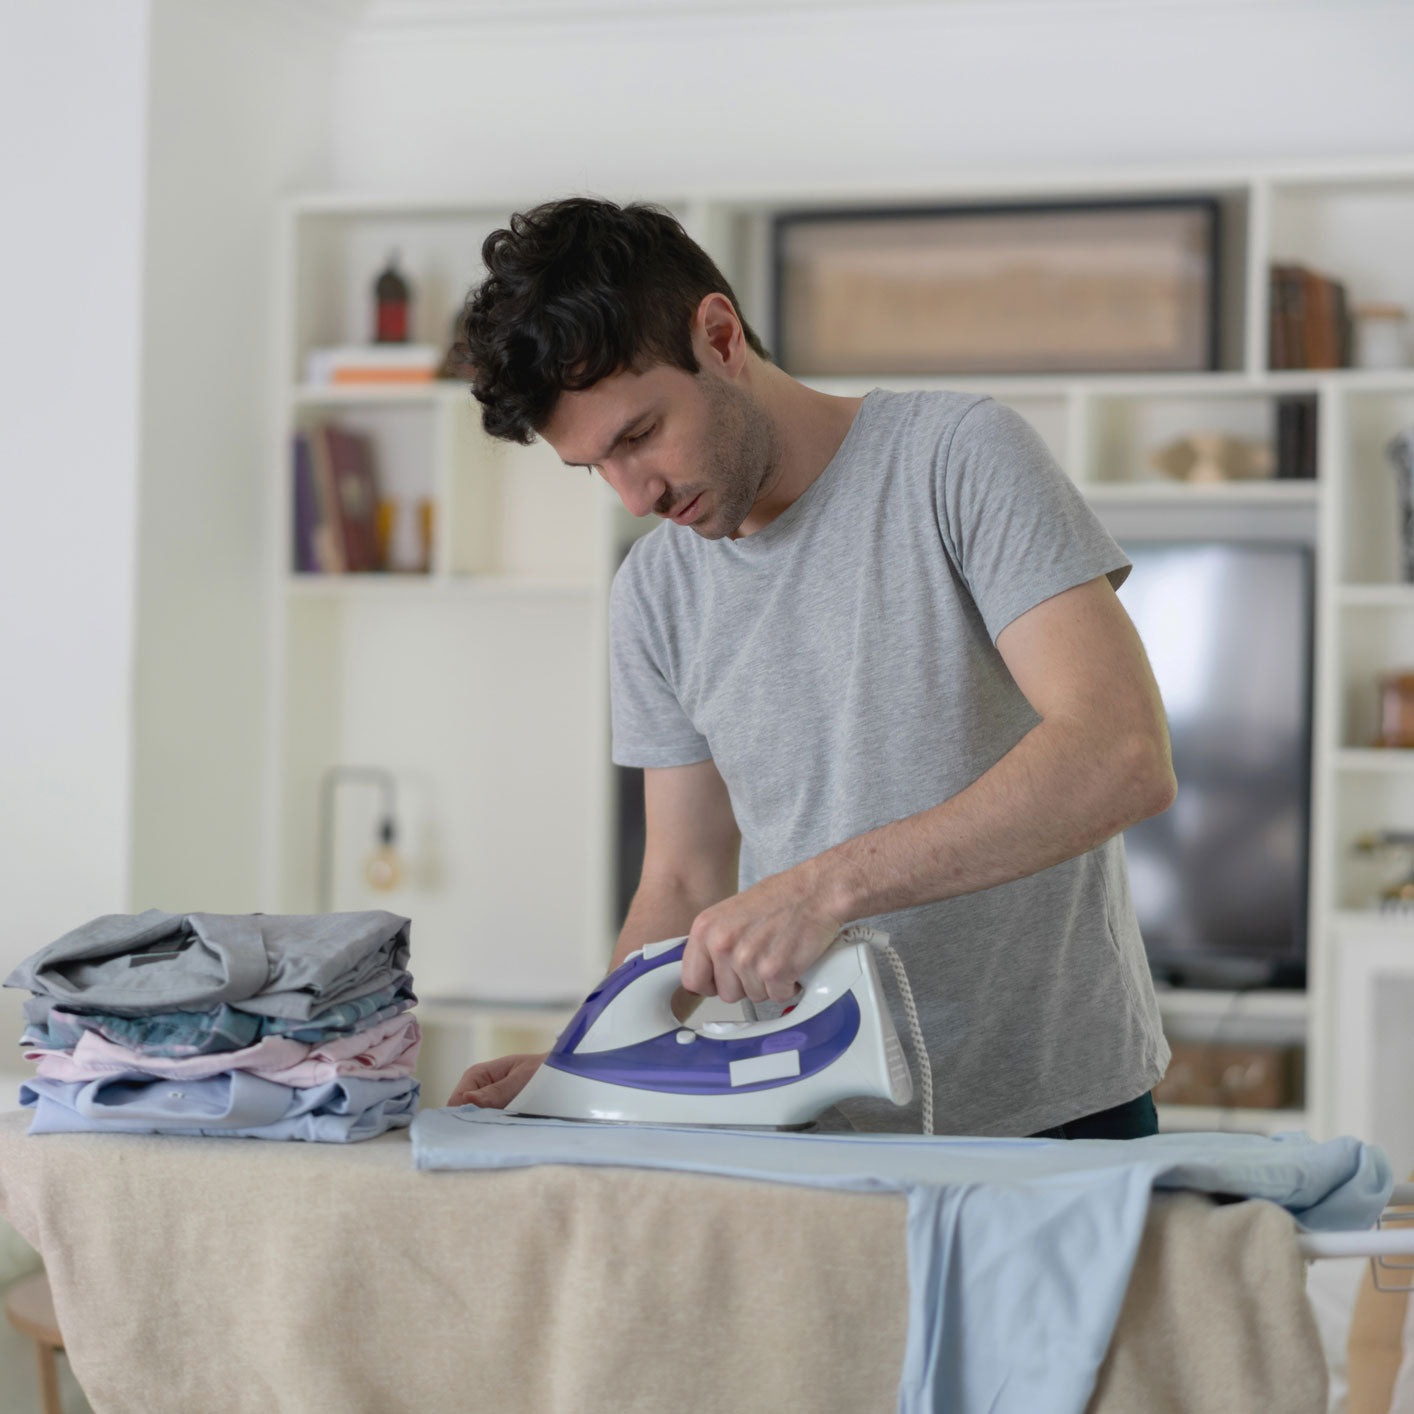
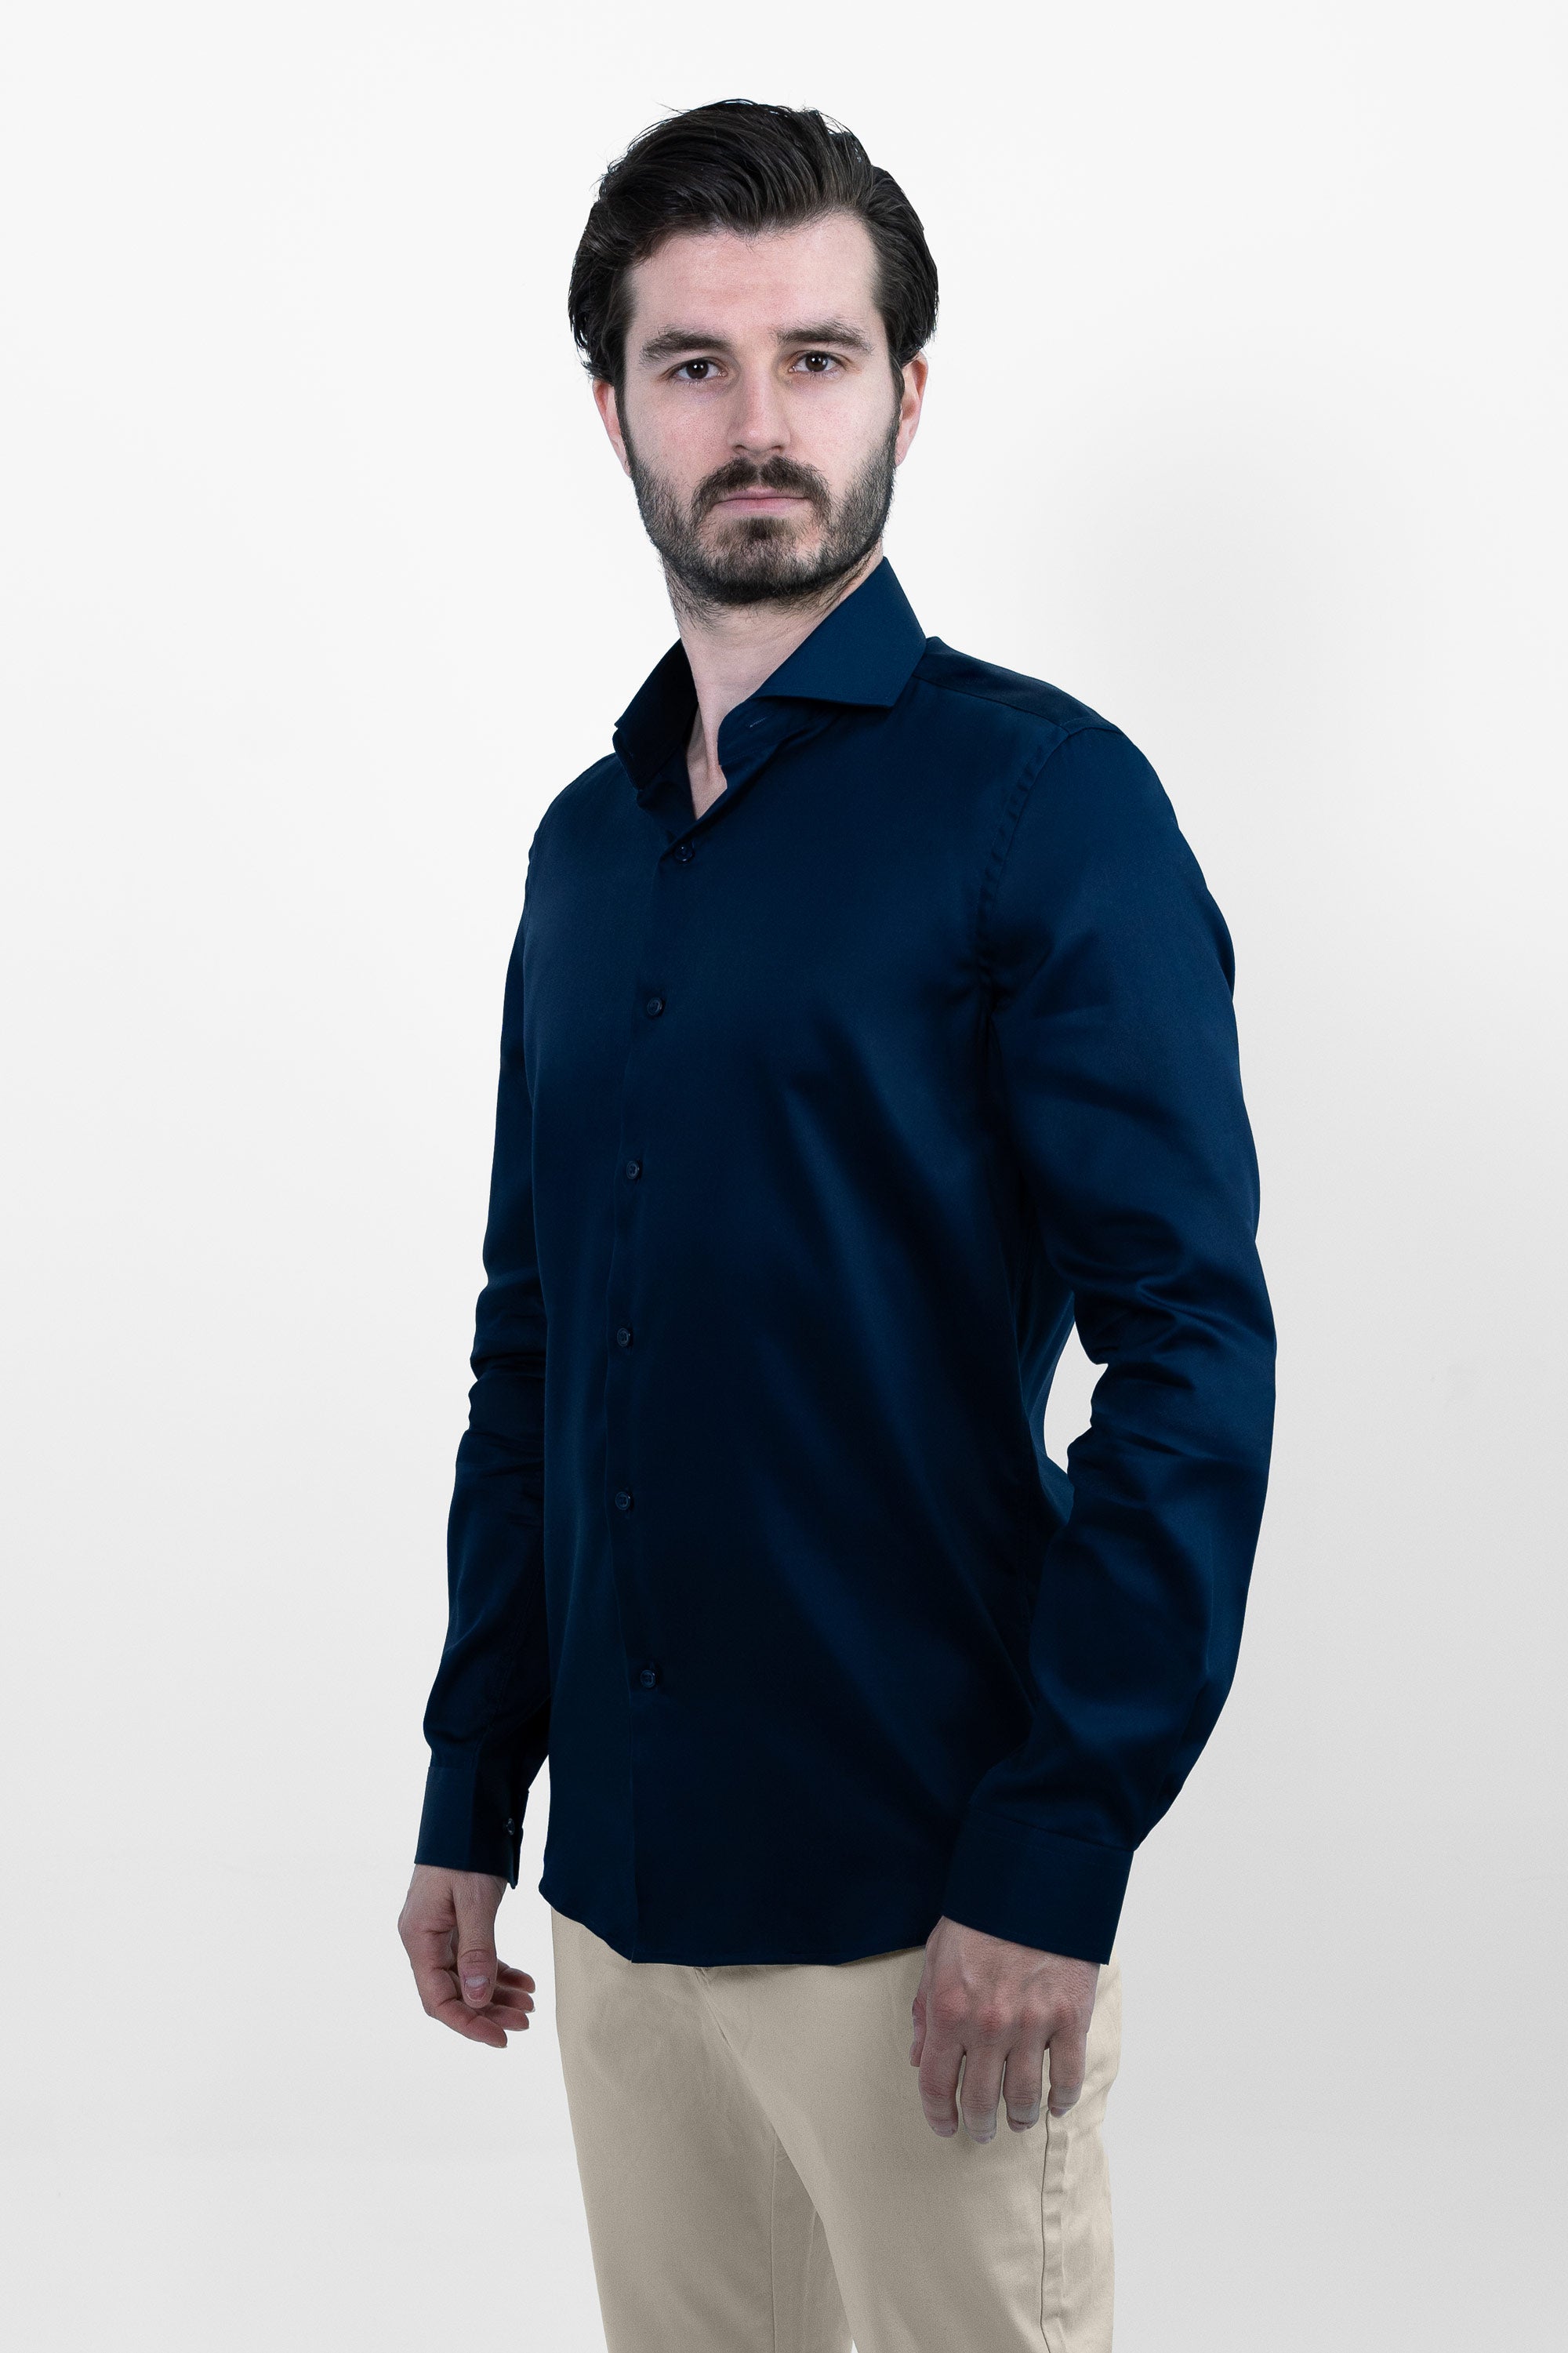
Step 1: Preparation
Before you start, make sure the shirt is clean and completely dry. A slightly damp shirt is easier to iron, so when it is dry, lightly mist it with water from a spray bottle. Set the temperature of the iron according to the type of fabric of the shirt. If necessary, refer to the shirt's label.
Step 2: Prepare ironing board
Set up your ironing board and make sure the cover is clean and smooth. A good surface is essential for achieving a smooth result. If the shirt has special details, such as buttons or seams, make sure they are properly aligned on the board.
Step 3: Collars and cuffs
Start by ironing the collar. Lay the collar flat on the board and iron first the bottom and then the top. Work from the middle towards the ends. Then iron the cuffs on both sides. If the cuffs have buttons, gently iron around them.
Step 4: Sleeves
Lay one sleeve flat on the board with the seam facing up. Iron from the shoulder to the cuff, smoothing out any creases and wrinkles. Repeat for the other sleeve.
Step 5: Front and back
Iron the front of the shirt first. Start at the buttons and gradually work downwards. Iron in vertical strips, making sure to smooth out creases and wrinkles. Turn the shirt over and repeat the process for the back.
Step 6: Back to the Front
Now that you've ironed the front and back, it's time to go back to the front. Lay the shirt face up on the board and iron the section between the buttons.
Step 7: Final check
Before taking the shirt off the shelf, give it a final check for creases, wrinkles or missed spots. If you still see difficult creases, you can use a little extra steam or re-iron the shirt at a lower temperature.
Step 8: Hang up and let cool down
Hang the ironed shirt on a hanger and let it cool completely before putting it on. This will prevent new creases from forming due to the heat of the iron.
Ironing a shirt takes some patience and practice, but with the right techniques, you can soon achieve smooth and professional results. Remember, regular practice will improve your skills, and before you know it, you will be able to effortlessly iron your shirts for a neat and tidy look.